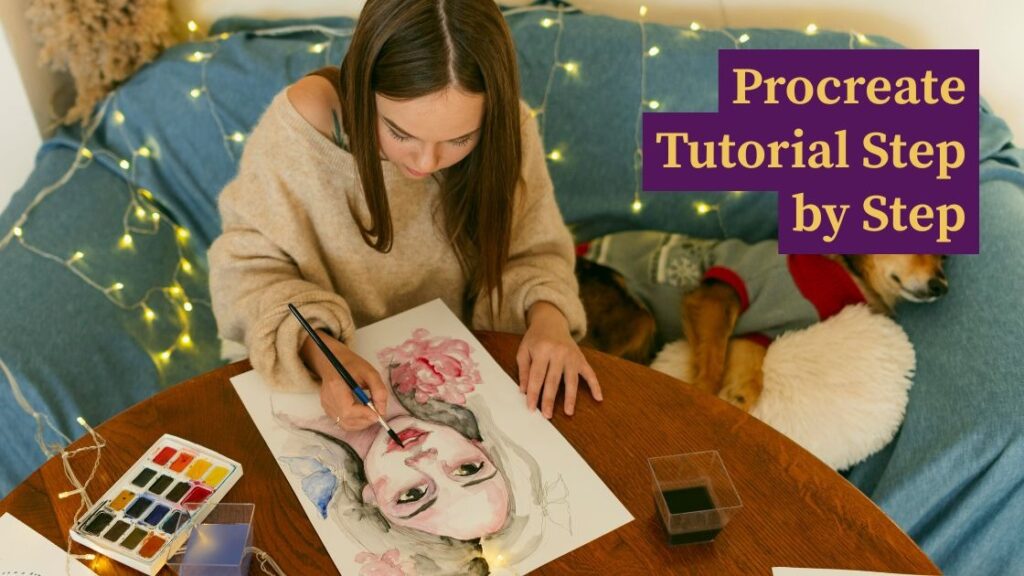
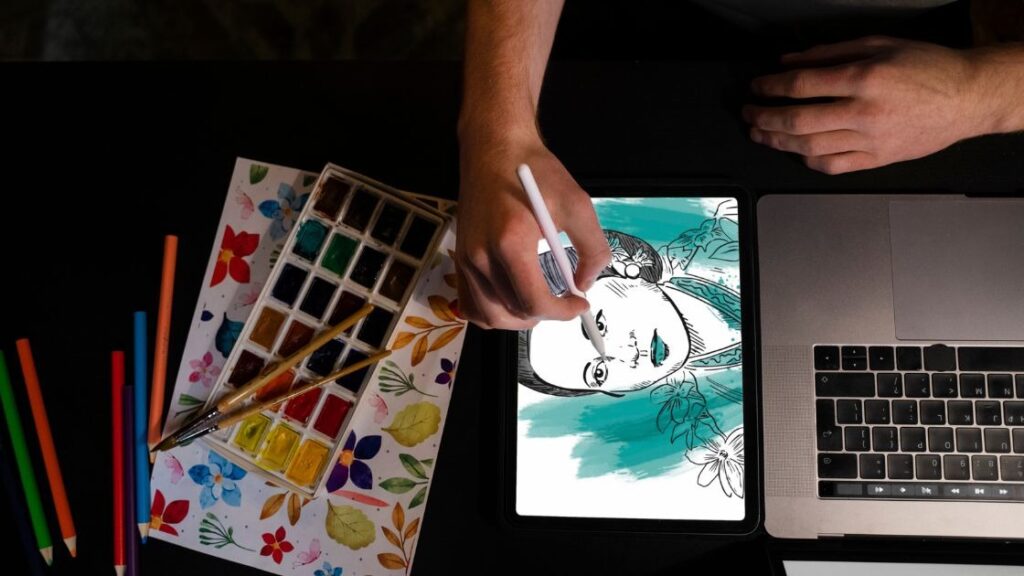
If you have ever wanted to bring your creative ideas to life on an iPad, this procreate tutorial step by step is the perfect place to start your journey. Procreate has quickly become one of the most popular digital illustration tools used by hobbyists and professional artists around the world. Its intuitive interface, powerful brushes, and endless creative possibilities make it a must-have app for anyone passionate about digital art for beginners and experienced creators alike. Whether you dream of designing characters, painting landscapes, or building a portfolio, learning Procreate the right way can completely transform your artistic skills.
In this detailed guide, we will walk you through everything you need to know to get started with confidence. From setting up your first canvas and understanding Procreate brushes to mastering layers, blending techniques, and exporting your finished work, every essential topic is covered. This procreate tutorial step by step is designed to make the learning process simple, enjoyable, and practical so that you can start creating artwork you are truly proud of.
You do not need any prior experience with iPad illustration or digital tools to follow along. Each section of this guide is crafted with clear explanations and actionable procreate drawing tips that you can apply immediately. We have also included expert advice gathered from years of hands-on practice to help you avoid common mistakes and speed up your progress.
By the end of this digital illustration guide, you will have the knowledge and confidence to create stunning digital art from scratch. So grab your Apple Pencil, open Procreate, and let us get started on this creative adventure together.
What Is Procreate and Why Follow a Procreate Tutorial Step by Step
Procreate is a powerful digital illustration app designed exclusively for iPad. Since its launch in 2011, it has grown into one of the most trusted tools for artists, designers, and creative professionals worldwide. The app offers a complete studio experience right at your fingertips with hundreds of customizable brushes, advanced layer controls, and an incredibly smooth drawing engine. Following a procreate tutorial step by step is the smartest way to understand the full potential of this app without feeling overwhelmed.
What makes Procreate stand out from other digital painting software is its perfect balance of simplicity and power. Beginners can jump in and start sketching within minutes, while experienced artists can explore advanced features like blend modes, clipping masks, and animation assist. Whether you are interested in concept art, portrait illustration, or graphic design, Procreate gives you the creative freedom to do it all on a single device.
Getting Started With Procreate on Your iPad
Setting Up Your First Canvas
Before diving into any procreate tutorial step by step, you need to understand how to set up your workspace properly. When you open Procreate, you will see a gallery where all your projects are stored. Simply tap the plus icon located at the top right to start a fresh new canvas. You can choose from preset sizes or create a custom canvas by entering your preferred dimensions, DPI, and color profile.
For beginners, starting with a standard screen size canvas at 300 DPI is a great choice. This gives you enough resolution for detailed work without slowing down performance. Getting your canvas settings right from the beginning saves you time and frustration later in the creative process.
Understanding the Procreate Interface
The Procreate interface is clean and minimal, which is one of the reasons artists love it. On the top left, you will find tools for brushes, smudge, eraser, and layers. The top right side holds your color picker and additional settings. Learning where everything is located is an essential part of any procreate tutorial step by step because it helps you work faster and stay focused on your art.
Spend a few minutes tapping through each menu and exploring what is available. Familiarity with the interface builds your confidence and makes every other step in this guide easier to follow.
Essential Tools Covered in This Procreate Tutorial Step by Step for Beginners
Brushes and Brush Library
Procreate comes loaded with over 200 built-in Procreate brushes organized into categories like sketching, inking, painting, and textures. Each brush is fully customizable, allowing you to adjust size, opacity, flow, and pressure sensitivity. In this procreate tutorial step by step, we recommend starting with basic brushes such as the 6B Pencil for sketching and the Studio Pen for clean line work.
As you grow more comfortable, experiment with different brush sets to discover your personal style. You can also import free and premium brushes created by other artists to expand your toolkit even further.
Layers and Layer Management
Layers are one of the most important features you will use in iPad digital art. Imagine layers as clear sheets of glass placed one above the other. You can draw on one layer without affecting the others, which makes editing and experimenting much easier. This procreate tutorial step by step strongly encourages using separate layers for your sketch, line art, base colors, and shading.
How to Use Layers Effectively
- Create a new layer for every major element of your artwork.
- Use the opacity slider to reduce your sketch layer before inking.
- Rename your layers so you can find them quickly during complex projects.
- Experiment with blend modes like Multiply and Overlay for shading effects.
- Merge layers only when you are completely satisfied with your work.
Color Selection and Palettes
Choosing the right colors can make or break your digital illustration. Procreate offers several ways to pick colors including the color wheel, classic palette, harmony tool, and value slider. You can also create custom Procreate color palettes and save them for future use, which is incredibly helpful when working on a series of related illustrations.
Step by Step Process to Create Your First Digital Artwork
This section of our procreate tutorial step by step walks you through the actual creation process from start to finish.
Sketching Your Idea
Start with a rough sketch on a new layer using a pencil brush. Do not worry about perfection at this stage. The goal is to get your basic shapes, proportions, and composition down on the canvas. Use light strokes and keep things loose so you can make adjustments easily.
Refining Your Line Art
Once your sketch is ready, lower the opacity of the sketch layer and create a new layer above it. Now trace over your sketch with cleaner and more confident lines using an inking brush. This is where your Procreate drawing techniques start to shine. Take your time with curves and details to get smooth and professional results.
Adding Base Colors and Shading
After your line art is complete, create a new layer beneath it for your base colors. Use the ColorDrop feature by dragging a color from the palette directly onto enclosed shapes. Then add a new layer above your base colors for shadows and highlights. This procreate tutorial step by step approach of separating colors and shading gives you full control over every part of your artwork.
Final Touches and Exporting
The final stage involves adding textures, adjusting brightness and contrast, and making small refinements. Procreate offers built-in adjustment tools like Gaussian Blur, Hue Saturation, and Curves for polishing your piece. When you are satisfied with the result, export your artwork by following these steps.
- Tap the wrench icon to open the Actions menu.
- Select the Share option from the available tabs.
- Choose your preferred file format such as PNG, JPEG, or PSD.
- Save the file to your iPad or share it directly to social media.
- Keep a Procreate source file for future edits and revisions.
Tips to Improve Your Procreate Skills Faster
Learning from a procreate tutorial step by step is a fantastic start, but consistent practice is what truly builds mastery. Set aside time each day to draw even if it is just for 15 minutes. Study other artists for inspiration, watch Procreate video tutorials, and challenge yourself with new subjects and styles regularly. Joining online art communities can also provide valuable feedback and motivation to keep improving your digital art skills over time.
Conclusion
Learning digital art does not have to be complicated or intimidating when you have the right guidance. This procreate tutorial step by step has covered everything you need to begin your creative journey with confidence, from setting up your canvas and understanding the interface to mastering brushes, layers, colors, and the complete artwork creation process. Each section was designed to build on the previous one so that you can develop your skills naturally and at your own pace.
Procreate is truly a game changing app that puts a professional digital illustration studio in the palm of your hand. Whether you are a complete beginner picking up an Apple Pencil for the first time or an intermediate artist looking to refine your workflow, the techniques shared in this procreate tutorial step by step will help you produce artwork that stands out. The combination of powerful tools, an intuitive interface, and endless creative possibilities makes Procreate the ideal platform for anyone serious about iPad digital art.
Remember that artistic growth takes time and patience. The most important thing is to stay consistent, keep experimenting with new Procreate drawing techniques, and never stop challenging yourself creatively. Revisit this guide whenever you need a refresher on the basics or want to try a new approach to your artwork.
Now it is your turn to put everything you have learned into practice. Open Procreate, start a fresh canvas, and let your imagination lead the way. Your journey into stunning digital art creation begins today, and with dedication, the results will speak for themselves. We hope this procreate tutorial step by step serves as a valuable resource you return to again and again.