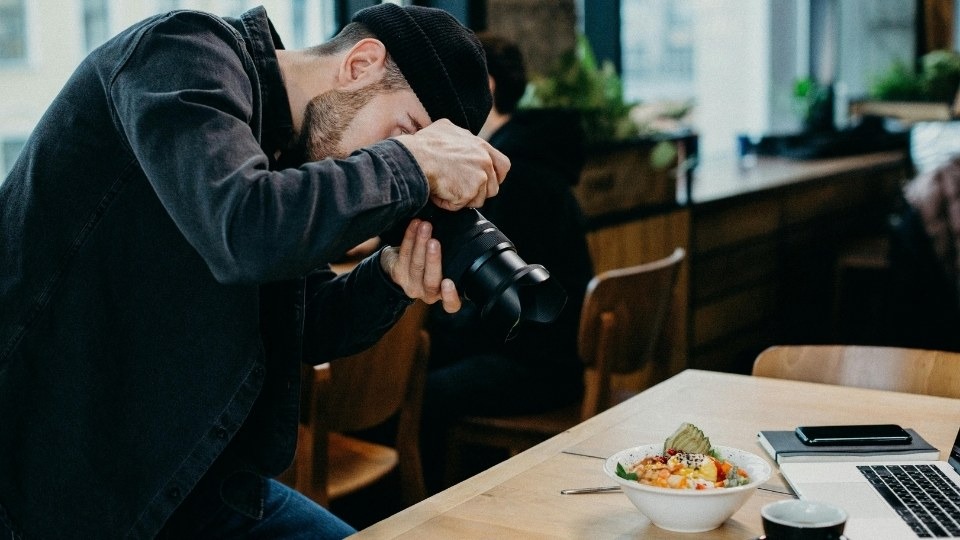
Food photography styling is the skill of presenting, garnishing, and arranging dishes so they look their most appetizing in a photograph. It blends plating technique, prop selection, color awareness, and spatial composition to turn ordinary meals into scroll-stopping visual content.
Whether you shoot for a restaurant, a recipe blog, a cookbook, or your brand’s social channels, mastering food styling separates forgettable snapshots from images that genuinely drive audience action. According to a Cropink report on restaurant social media statistics, roughly 90% of restaurants rate Instagram as a very or extremely important marketing channel and the quality of food imagery is what makes or breaks performance on that platform.
In this guide, I break down every technique I rely on after years of working with food content from beginner essentials to advanced plating secrets that professionals guard closely.
Table of Contents
Why Food Photography Styling Matters More Than Ever in 2026
Strong food styling is no longer optional for anyone publishing food content online. It directly impacts engagement, brand trust, and revenue.
A GourmetPix social media food photography guide reports that roughly 74% of consumers use social media to decide where to eat. For Gen Z specifically, 84% actively try social media food trends GourmetPix, according to data cited from Food & Beverage Magazine. Poor styling means your audience swipes past in under a second. Solid food photography bridges the gap between how a dish tastes and how it communicates visually.
Research from Spinthiras Media indicates that posts featuring high-quality imagery can earn up to 150% more engagement compared to those with poor visuals Spinthiras Media. That statistic alone justifies investing serious effort into your styling workflow.
Essential Food Styling Tools: A Complete Kit Checklist
Before you arrange a single garnish, gather the right toolkit. Having these items within arm’s reach gives you precise control over every detail in the frame.
| Tool | Purpose | Pro Tip |
| Offset spatula (multiple sizes) | Smooth sauces, lift delicate items | Small spatulas give finer control on tight plates |
| Fine-tip tweezers | Place micro herbs and tiny garnishes | Angled tips work better than straight for overhead plating |
| Spray bottle (glycerin + water) | Add a fresh, dewy look to produce and drinks | A single drop of glycerin per 100ml water prevents fast evaporation |
| Small kitchen blowtorch | Melt cheese, caramelize toppings on demand | Short controlled bursts prevent burning and bubbling |
| Linen napkins and textured cloths | Build layered, lifestyle backgrounds | Neutral, muted tones keep visual focus on the hero dish |
| Paper towels and cotton swabs | Clean plate rims and remove sauce drips | Always the very last step before you fire the shutter |
| Squeeze bottles (various nozzle sizes) | Controlled sauce application | Thin nozzles for drizzles, wider tips for dots and pools |
| Portable reflector boards (white/silver) | Bounce and redirect light | White boards fill shadows softly without adding harsh highlights |
Camera Angles for Food: Choosing the Right Perspective
Every dish has an angle that flatters it most. Choosing the wrong perspective is one of the fastest ways to ruin an otherwise well-styled plate.
Flat Lay (90-Degree Overhead)
Shoot directly from above. This angle works brilliantly for pizzas, grain bowls, charcuterie boards, and any dish that spreads horizontally. It also gives you maximum control over prop placement since you can see the entire surface layout.
The 45-Degree Angle
This is the most versatile food photography angle and mimics how a diner actually sees a plate at the table. It captures both the top surface and the front-facing height of a dish. Pastas, salads, and plated entrées almost always look best here.
Straight-On (0-Degree)
Shoot level with the table surface. Reserve this angle for tall dishes that need to show layers and height stacked pancakes, towering burgers, layered cakes, and beverages in tall glasses. This angle collapses depth but maximizes vertical drama.
| Angle | Best For | Avoid For |
| Flat lay (90°) | Pizzas, boards, bowls, flat dishes | Burgers, tall drinks, layered desserts |
| 45-degree | Plated entrées, salads, pastas | Very flat dishes with no height |
| Straight-on (0°) | Burgers, cakes, stacked items, beverages | Flat bowls, single-layer plates |
Composition Techniques That Elevate Every Shot
The Rule of Thirds in Food Scenes
Place your hero dish along one of the intersecting grid lines rather than dead center. Off-center placement creates natural visual tension and guides the viewer’s eye across the frame. According to Digital Photography School, this principle consistently produces more dynamic compositions across all photography genres.
Negative Space and Breathing Room
Resist the urge to fill every corner. Leaving open areas around your subject draws immediate focus to the dish and gives the image a clean, editorial quality. Negative space also makes your photos far more versatile for text overlays in marketing materials and social posts.
Layering and Depth With Props
Introduce depth by stacking elements at varying heights. A small bowl resting on a wooden board, a spoon angled across a plate, or raw ingredients scattered behind the hero dish all create visual layers that make a two-dimensional image feel three-dimensional. Choose props that complement rather than compete with the food.
Odd Numbers and Asymmetry
Group elements in odd numbers three basil leaves, five cherry tomatoes, one bold herb sprig. Research on perceptual grouping from the Interaction Design Foundation confirms that asymmetrical arrangements are naturally more engaging to the human eye than symmetrical ones.
Color Theory Basics for Food Styling
Color drives mood and appetite appeal more than almost any other styling factor.
Warm palettes built around oranges, golden browns, and deep reds evoke comfort and indulgence. Cool tones featuring greens, whites, and soft blues signal freshness, health, and clean eating.
A practical starting point is the complementary color approach: pair foods with backgrounds or props that sit opposite them on the color wheel. Think bright orange carrots against a deep teal ceramic plate, or ruby-red strawberries on a muted green linen. This technique creates immediate visual pop without overwhelming the frame.
Lighting Setups That Transform Food Photography Styling
Lighting is the single biggest factor separating amateur food shots from professional work. Get the light right and even simple plating looks stunning.
Mastering Natural Light
Position your setup near a large window north-facing windows deliver the most consistent soft light throughout the day. Place a white foam board or reflector opposite the window to bounce light back into shadow areas, lifting detail without adding a second light source.
Overcast skies are a food stylist’s best friend. Cloud cover acts as a massive natural diffuser, eliminating harsh shadows that distract from textures. Photography Life recommends shooting during morning or late afternoon hours when natural light carries gentle warmth that flatters warm-toned dishes.
When to Use Artificial Light
Artificial lighting becomes essential for evening shoots and windowless kitchens. A single continuous LED panel paired with a large softbox mimics window light convincingly. Keep color temperature around 5000K to 5500K for daylight-balanced results that render food colors accurately.
Avoid direct overhead flash. It flattens textures, creates distracting hot spots on glossy sauces, and kills the dimensional quality that makes food photography styling effective.
| Factor | Natural Light | Artificial Light |
| Color accuracy | Excellent in daylight conditions | Requires careful white balance calibration |
| Consistency | Changes throughout the day and with weather | Fully controllable and repeatable |
| Equipment cost | Free (window + reflector) | Moderate to high (LED panels, softboxes) |
| Best for | Lifestyle shots, blog content, bright airy aesthetics | Controlled studio work, dark moody setups, evening shoots |
| Learning curve | Low | Medium |
How to Style Specific Food Categories
Different types of food demand different styling approaches. A technique that works beautifully for baked goods might fail completely on a soup.
Beverages and Cocktails
Always style drinks last ice melts fast, condensation disappears, and foam settles. Use a glycerin spray to fake condensation on glass surfaces. Shoot beverages straight-on or at a slight upward angle to capture liquid color, garnish detail, and glassware shape simultaneously.
Soups and Liquid Dishes
Fill the bowl only about two-thirds full so the rim stays clean and visible. Add garnishes like fresh herbs, a swirl of cream, or croutons immediately before shooting. A dark, matte bowl contrasts beautifully against a bright soup and prevents unwanted reflections.
Baked Goods and Bread
Show texture. Break bread apart by hand to reveal the interior crumb structure. Dust lightly with flour or powdered sugar for a freshly-baked look. Warm-toned wooden surfaces and rustic linen work perfectly as backgrounds for bakery-style shots.
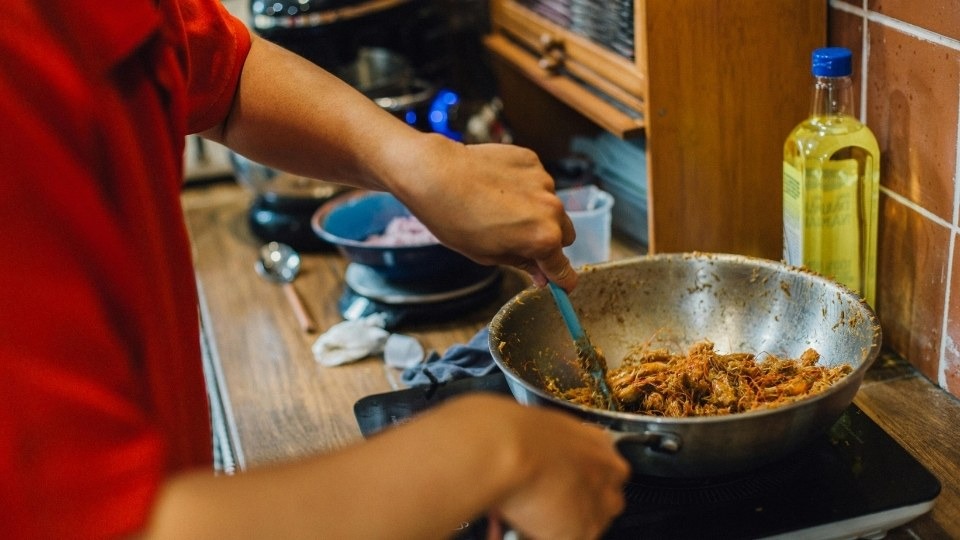
Wet and Saucy Dishes (Curries, Stews, Pastas)
Sauce dishes benefit from slight underfilling pull a few feature ingredients to the surface so viewers can identify what is inside. A drizzle of olive oil or a sprinkle of fresh herbs on top adds dimension and freshness to otherwise flat-looking bowls.
Advanced Plating Secrets From Working Stylists
The “Undercook” Rule
Experienced food stylists routinely undercook vegetables, proteins, and pasta by roughly 30%. Slightly undercooked food retains brighter color, firmer structure, and a fresher appearance under lights. A fully cooked piece of broccoli turns dull and limp within minutes under studio conditions.
Sauce Application Techniques
Never pour sauce directly over a hero dish. Instead, use a squeeze bottle to place controlled dots, swooshes, or pools on the plate first, then set the food on top. For elegant drizzles, hold the bottle high and move steadily in a thin, deliberate line.
Building the “Messy on Purpose” Look
One of the strongest trends shaping food photography styling in 2026 is intentional imperfection. According to food photographer Monica Stevenson, styling in lifestyle food photography is deliberately loose food is plated naturally, sometimes partially eaten, sometimes imperfect Monicastevenson. Scattered crumbs, a torn piece of bread, or a half-eaten slice communicate authenticity that overly polished shots cannot match.
Food Photography Styling for Different Platforms
Each social platform rewards different visual formats and dimensions. Styling your shots without considering the destination platform leaves performance on the table.
Shoot in 4:5 portrait ratio for maximum feed real estate. Bright, well-lit compositions with one clear focal point perform strongest. Keep props minimal and use bold color contrasts. Carousel posts showing the cooking process or multiple angles of a single dish tend to boost saves and shares.
TikTok
Vertical 9:16 video dominates. Style your set for motion drizzling honey, slicing through a cake, pouring a drink. Food & Beverage Magazine reports that 70% of Gen Z identify TikTok as their most valuable platform for food recommendations Food & Beverage Magazine. Think about how your styled dish looks mid-action, not just as a finished still frame.
Use 2:3 vertical pins for maximum visibility. Pinterest users actively search for recipes and meal inspiration, so add text overlays with dish names or recipe titles. Lifestyle context with warm lighting performs better here than clinical, white-background product shots.
Food Photography Trends Shaping 2025–2026
Staying current with visual trends keeps your content competitive and fresh.
Authenticity over perfection over-styled plates and artificial shine are giving way to imagery rooted in texture, mood, and authenticity Monicastevenson, according to Monica Stevenson Studio.
Dark and moody aesthetics Deep shadows, muted tones, and natural materials like stone and dark wood create a dramatic, luxurious feel that works especially well for gourmet proteins, chocolate desserts, and wine.
Minimalism with intention many photographers now use clean backgrounds and simple styling to keep focus entirely on the dish Ravikant, as noted by Ravikant Photography’s 2026 trend report.
Human presence Hands reaching into the frame, someone pouring a drink, or a fork mid-twirl adds warmth and relatability that static hero shots lack.
Sustainability-forward styling Props made from recycled materials, bamboo trays, banana leaf liners, and organic ingredients signal environmental consciousness, which resonates strongly with younger audiences.
Common Food Styling Mistakes to Avoid
Even experienced photographers fall into these traps. Recognizing them early saves hours of reshooting.
- Overcrowding the frame too many props steal attention from the hero dish and confuse the viewer’s eye
- Ignoring plate cleanliness fingerprints and sauce smudges on plate rims ruin otherwise strong images instantly
- Using melting ingredients too early ice cream, butter, cheese, and whipped toppings should always be placed last, seconds before shooting
- Mixing color temperatures combining tungsten room light with daylight creates muddy, unnatural skin tones on food surfaces
- Wrong angle for the dish shooting a stacked burger from flat lay or a pizza from straight-on loses the dish’s strongest visual quality
- Over-styling adding too many garnishes or props makes the shot feel contrived rather than appetizing
Quick Post-Processing Tips for Food Images
Editing should enhance your styling work, never compensate for poor preparation. Keep adjustments subtle and focused on these key areas.
Increase clarity slightly to sharpen textures in bread crusts, grill marks, and leafy greens. Warm the white balance by a small margin if the shot looks too clinical or sterile. Gently reduce highlights to recover blown-out details in bright sauce reflections and white plates.
According to Adobe’s food photography guide, minimal editing that preserves natural color accuracy consistently outperforms heavy filtering when the goal is commercial or editorial food content. Avoid aggressive saturation boosts they make food look artificial and can trigger distrust in viewers.
Recommended Resources to Deepen Your Skills
Building lasting food photography expertise requires ongoing study. Here are resources that working professionals consistently recommend:
Books: Plate to Pixel by Helene Dujardin remains one of the most practical and accessible guides to food styling and photography. Food Styling: The Art of Preparing Food for the Camera by Delores Custer is widely considered the industry bible for professional food stylists.
Online Learning: Skillshare and CreativeLive regularly feature food photography courses taught by active commercial photographers who share real client workflows, not just theory.
Community Practice: Join food photography communities on Reddit (r/foodphotography) or dedicated Facebook groups where members share critiques, behind-the-scenes setups, and styling breakdowns. Learning from peer feedback accelerates improvement faster than solo practice.
Conclusion
Food photography styling is a learnable craft that combines technical knowledge with creative instinct. From choosing the right angle and mastering natural light, to plating with precision and editing with restraint, every single decision shapes how your audience experiences a dish visually.
Start with the fundamentals get your lighting right, build a basic tool kit, and practice with simple one-plate setups. As your confidence grows, experiment with trending aesthetics, platform-specific strategies, and advanced plating techniques covered in this guide.
The photographers who improve fastest are the ones who shoot consistently, study what top-performing food accounts do differently, and never stop refining their personal style.
Have a favorite styling trick that transformed your food photos? Drop it in the comments below. And if this guide helped you, share it with a fellow food creator who is building their visual content skills.
What is food photography styling?
It is the process of arranging, garnishing, and presenting food so it looks its most appealing in photographs. It involves choosing complementary props, backgrounds, and lighting setups to make dishes visually irresistible for menus, blogs, social media, and advertising.
What is the best lighting setup for food photography?
Soft, natural side light from a large window delivers the most flattering results for the majority of dishes. Position a white reflector or foam board on the opposite side to fill in shadows and add gentle dimension without additional equipment.
Do professional food stylists use real food in their shoots?
Most professionals use real food but apply specific techniques to maintain its appearance under lights. These include undercooking by around 30%, using glycerin sprays for a dewy look on produce, and placing melting ingredients like ice cream or cheese at the very last moment before capturing the shot.
What camera angle is best for food photography?
The 45-degree angle is the most universally flattering because it mimics how a diner naturally sees a plate. However, flat lays work best for spread-out dishes like pizza and charcuterie, while straight-on angles suit tall, layered foods like burgers and cakes.
How do I style food specifically for Instagram?
Shoot in 4:5 portrait format to maximize feed space. Use bright, well-lit compositions with one clear focal point and minimal props. Bold color contrasts and clean backgrounds tend to earn the highest engagement on the platform, based on broader social media performance trends.
Can beginners learn food styling without formal training?
Absolutely. Many successful food stylists are self-taught through consistent practice, online courses, and studying editorial food magazines. Start by recreating simple one-plate setups, focus on mastering natural light, and gradually introduce more complex multi-element scenes as your confidence grows.